🧱Databricks
(Optional) Allow connection from Arcwise IP address
If you need to add a fixed IP address to your allowlist or network policy, please refer to our Dirección IP Fija de Arcwise page.
Add Databricks credentials in Arcwise
Log into the Arcwise Admin portal and set up users/roles for your team first.
Go to the “Connections” tab in the Arcwise admin panel (https://admin.arcwise.app/#/warehouse_connections)
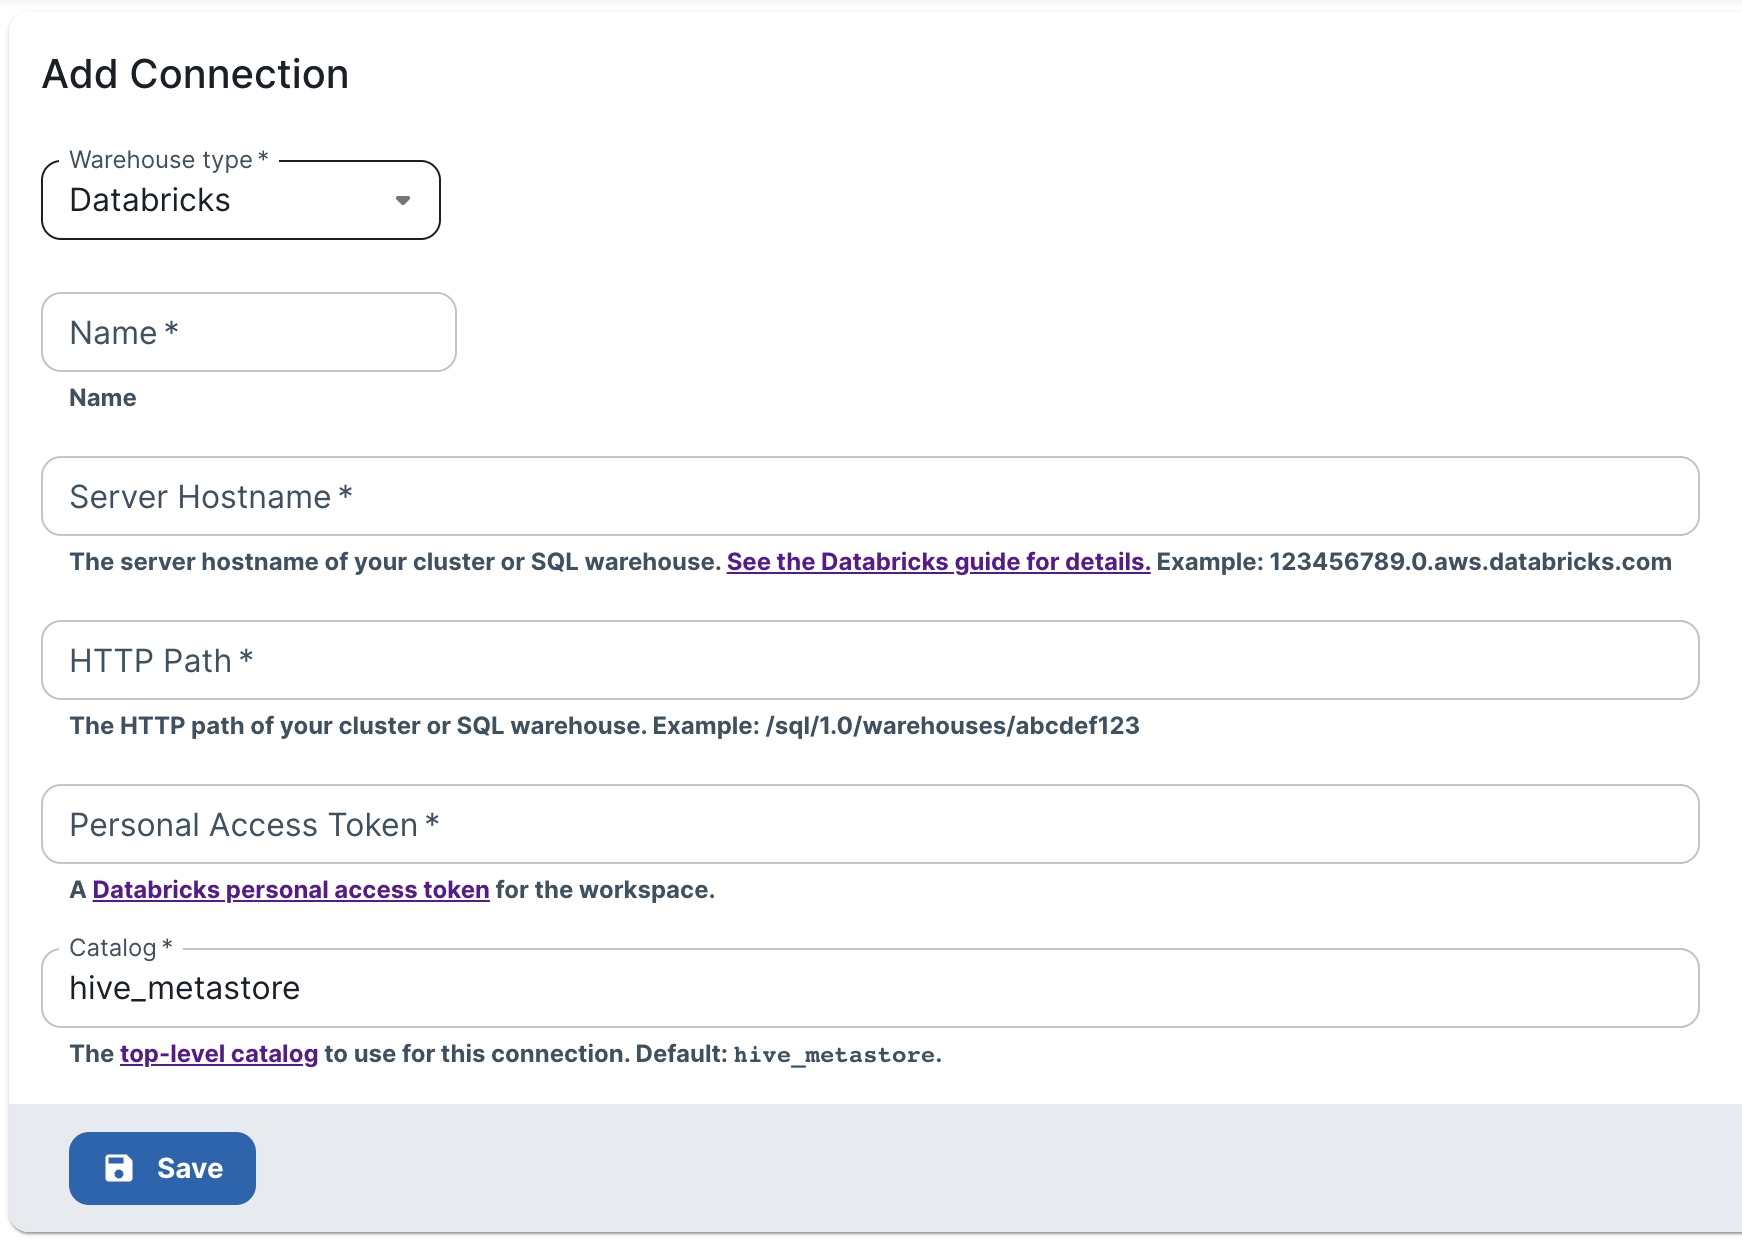
Click on the “+ Create” button (top-right) and select "Databricks" from the Warehouse Type dropdown.

Information about required fields
Name - A user-friendly name used for display purposes in the Arcwise interface. Can be anything you want.
Server Hostname / HTTP Path
Follow the Databricks documentation on finding these fields - for compute clusters, this will be on the Advanced Options > JDBC/ODBC settings page, and for SQL warehouses this will be under Connection Details. https://docs.databricks.com/integrations/jdbc-odbc-bi.html#retrieve-the-connection-details
Personal Access Token - must be an access token with permissions to use the warehouse/cluster provided above. See the docs for the required permissions: https://docs.databricks.com/integrations/jdbc-odbc-bi.html#permission-requirements
Arcwise only requires read permissions. We recommend that you ensure the PAT has finer-grained permissions for safety purposes; Arcwise users can execute SELECT SQL queries to access any schemas and tables that the PAT has (read) access to.
Catalog - The top-level catalog (as shown in Databricks' Data Explorer) that you would like Arcwise to access. If you're not using Unity Catalog, this must be
hive_metastore.
Checking indexed tables/views
Arcwise will automatically index your data catalog upon the initial connection; our index will also automatically refresh every day at midnight PST.
Go to the Tables page in the Arcwise panel to see the list of indexed tables / views.
To manually re-index tables, you can press the "Sync" button back on the Connections page.
(Optional) Connecting to dbt
Arcwise supports indexing your dbt catalog to surface metrics and models in the UI. If you'd like us to do this, proceed to the next step to connect your dbt credentials.